Do you want to see how easy it is to create a small application using power apps?
Here we go!
Open https://make.powerapps.com/
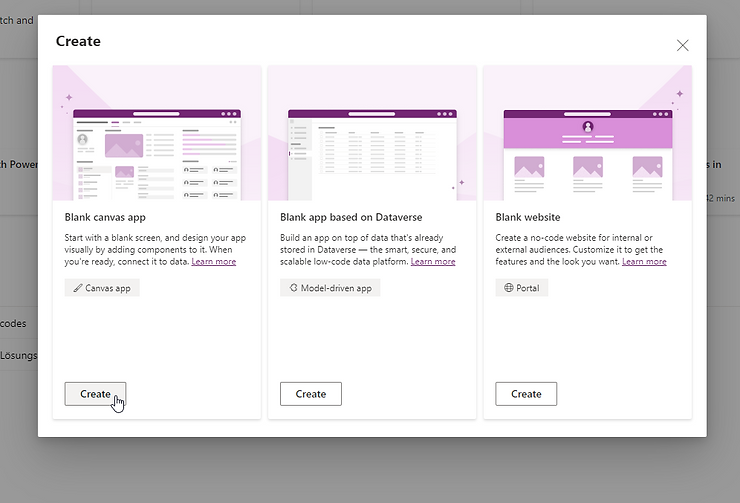
Create a new "Blank app"

Create a Blank canvas app
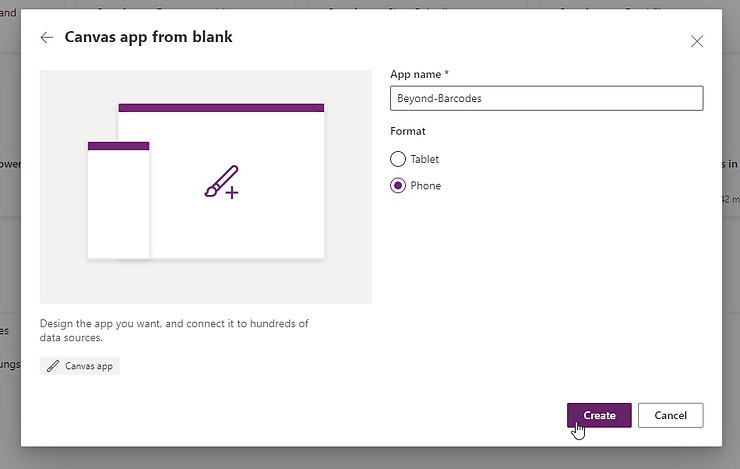
Name it "Beyond-Barcodes" and select the format!
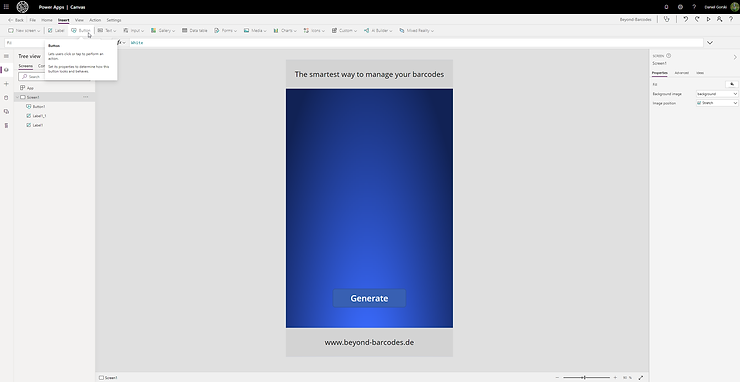
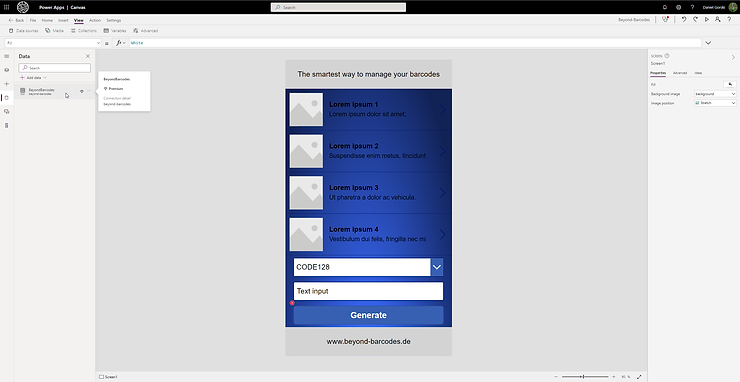
An editor opens and lets create a label.
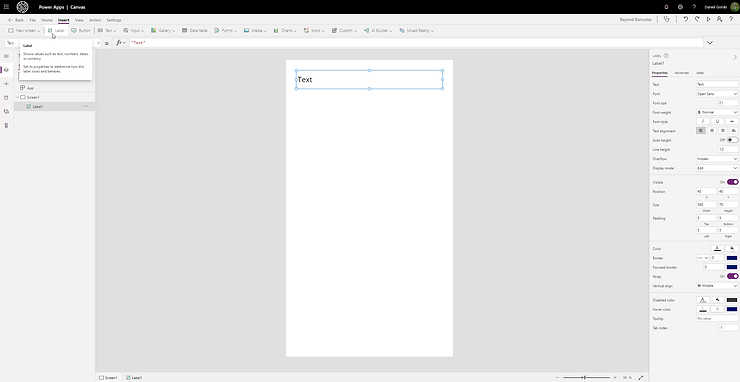
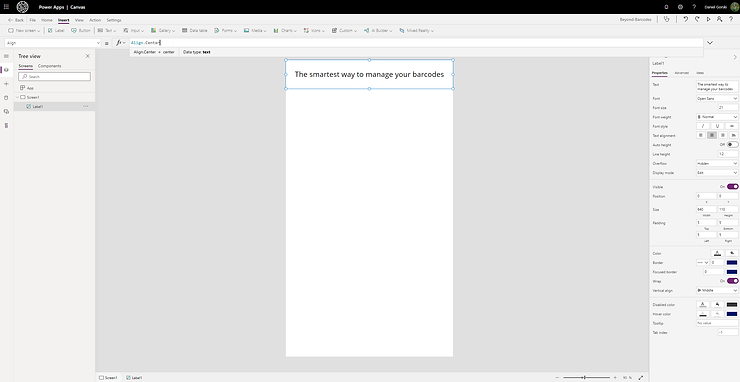
Specify some text here
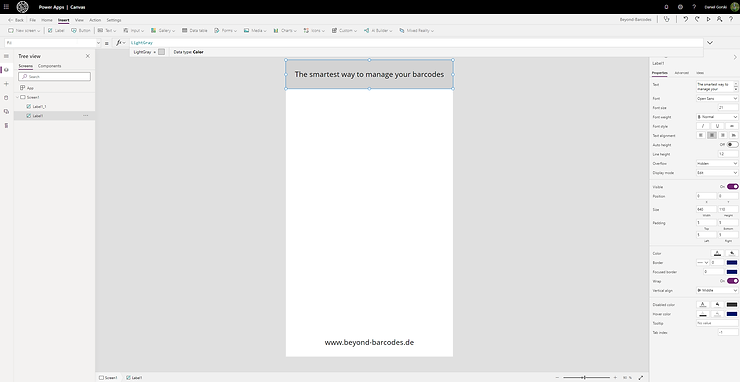
Copy it and do it now for the bottom part
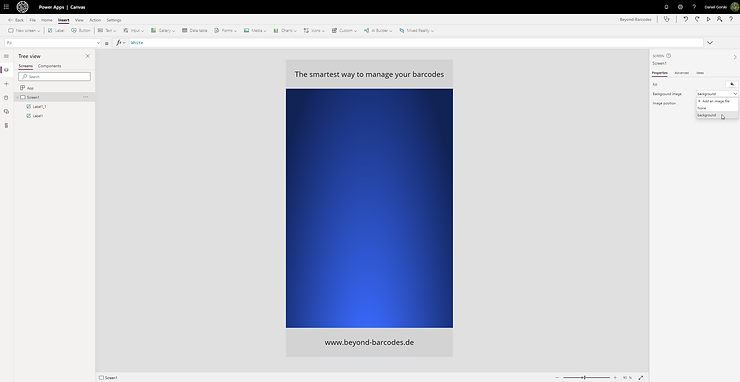
Right hand you can also select a background image
Lets create a button
And a text input field
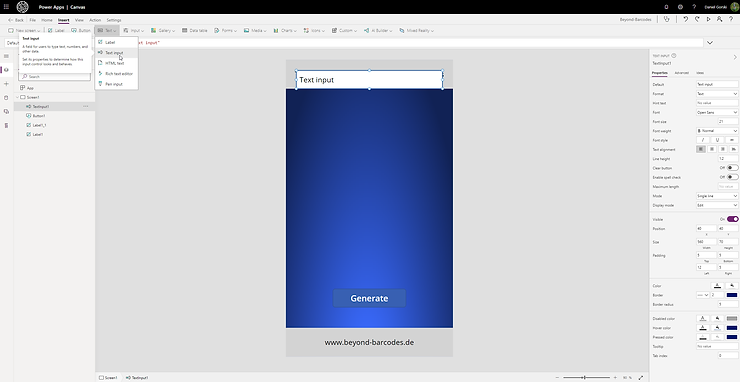
Move it next to the button
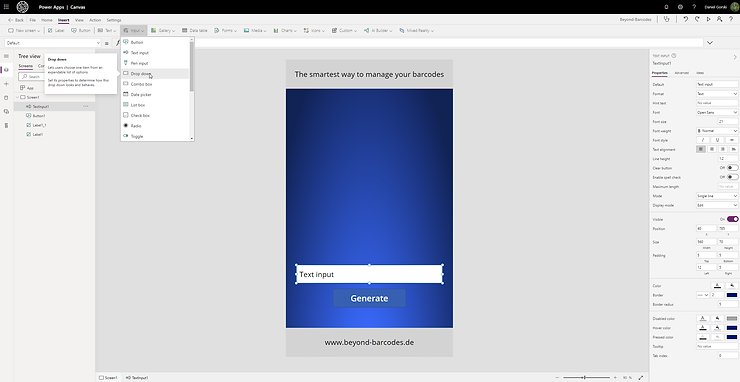
Create a drop down
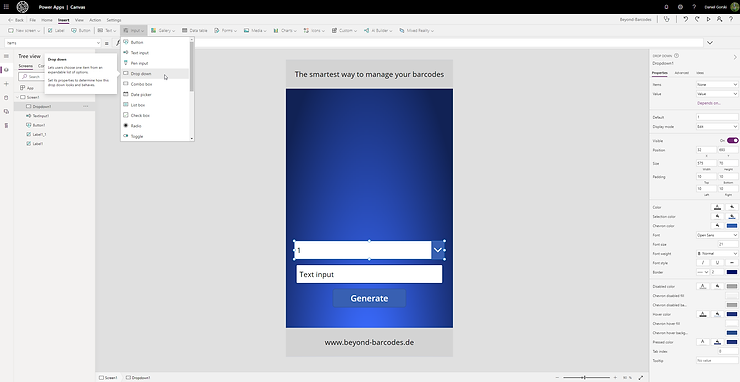
Due to ower API we can select only specific barcode types
["CODE128","CODE128A","CODE128B","CODE128C","CODE39","EAN13","EAN8","EAN5","EAN2","UPC","UPCE","ITF14","ITF","MSI"]
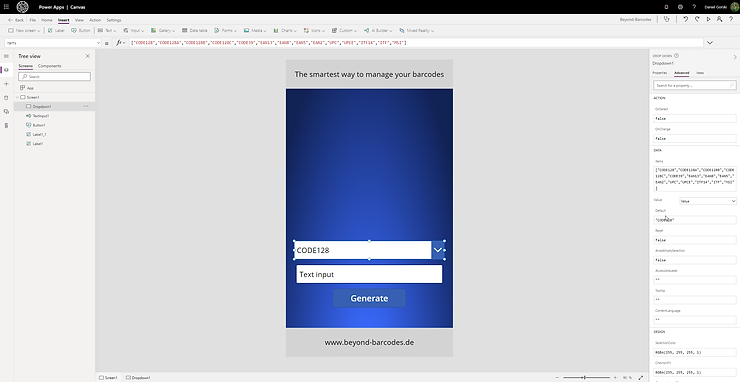
After that do some adjustments and add a gallery
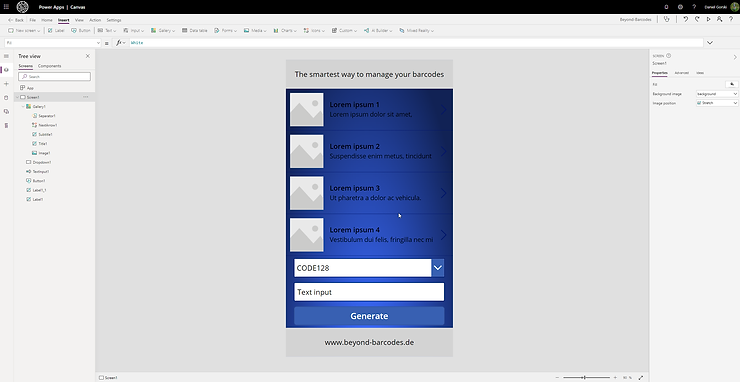
After that your "base" app is nearly done. Lets create a Custom Connector!
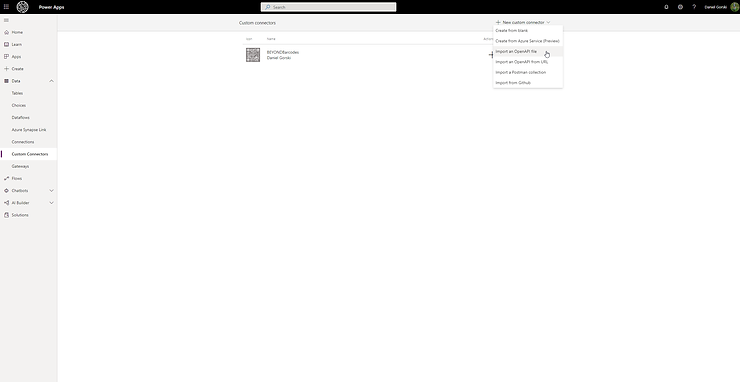
It's very easy to create a custom connector with a specific openAPI file
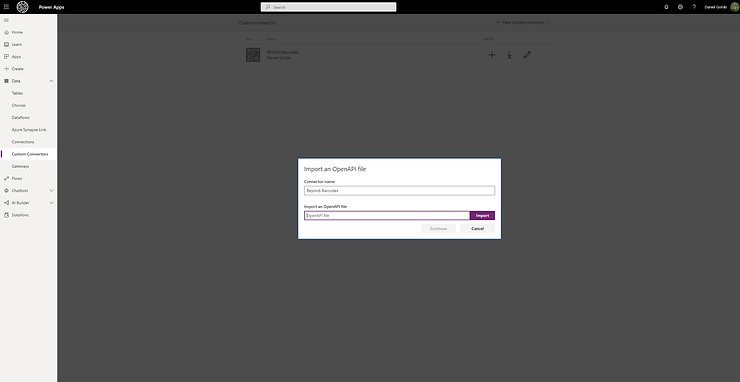
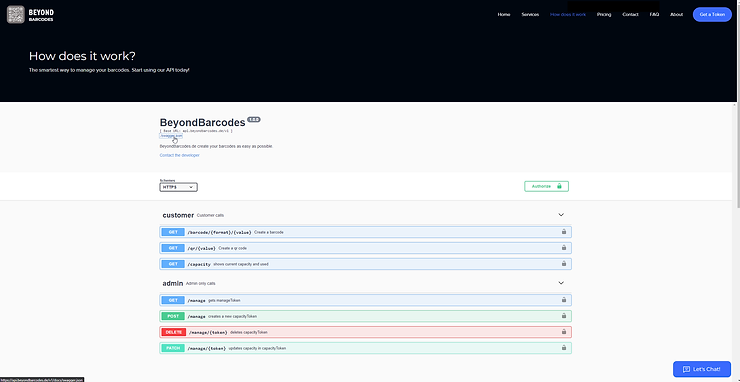
Visit https://www.beyond-barcodes.de/how-does-it-work
to download our swagger.json
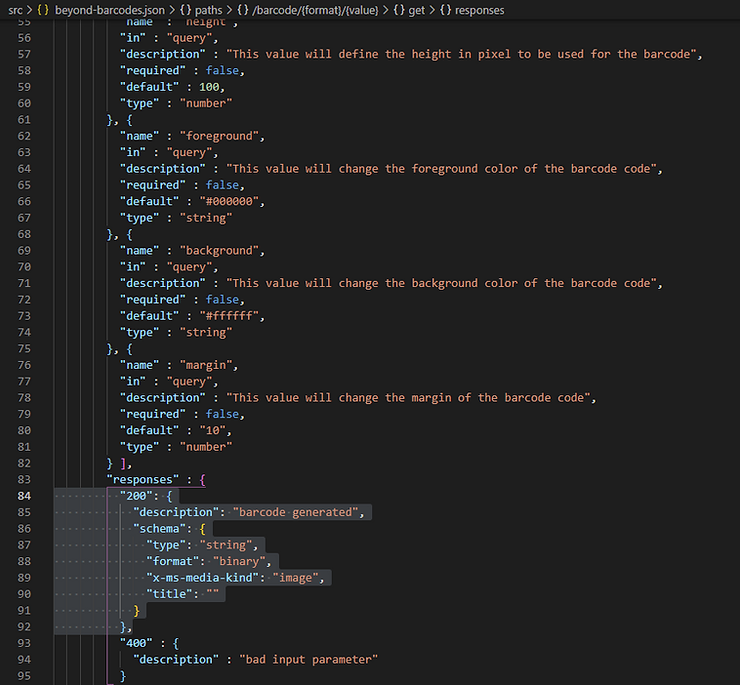
Adjust that json file with a binary schema at the responses part for the path "/qr/{value}"

"/barcode/{format}/{value}"
Save it and select it

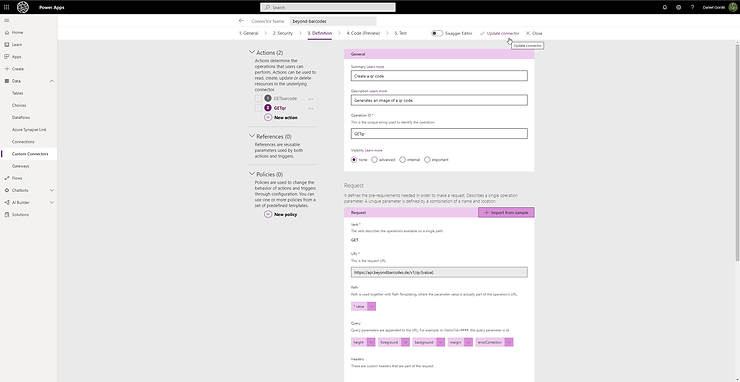
A new page appears and you specifiy some information

I've renamed the parameter label to "token"
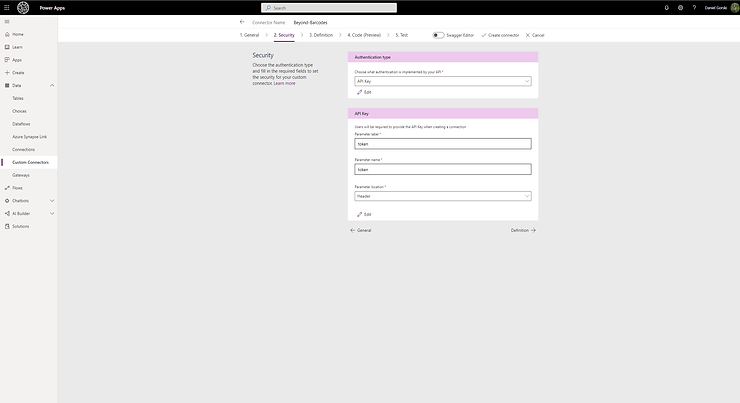
I've added the verb to Operatio ID because we throw a "GET" here

Also for creating qr codes. Delete all other actions or use them ;-)
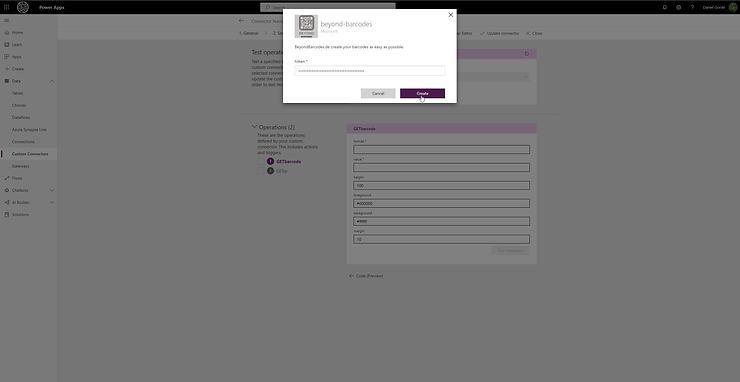
Create your connector and after that you can test it.
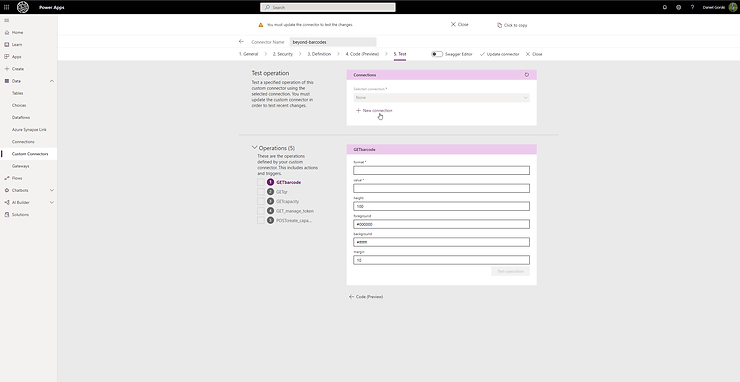
Create a new connection and enter our our free token for 1.000 calls:
2CuyVoMChUGjbrwbP6ajSU618U9mNYmhmzhNm2oc
And throw a test :-)
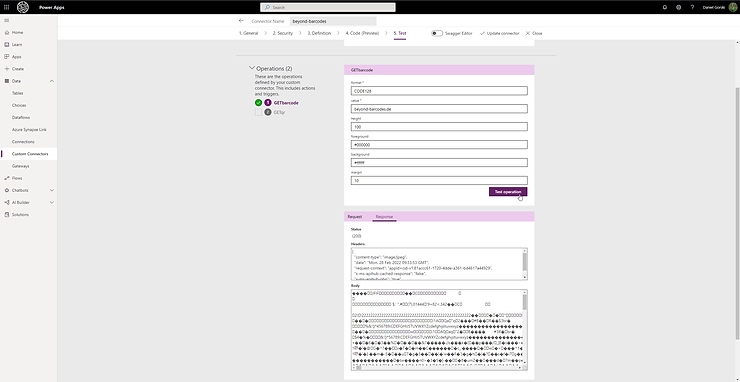
Your custom connector is ready to be used!
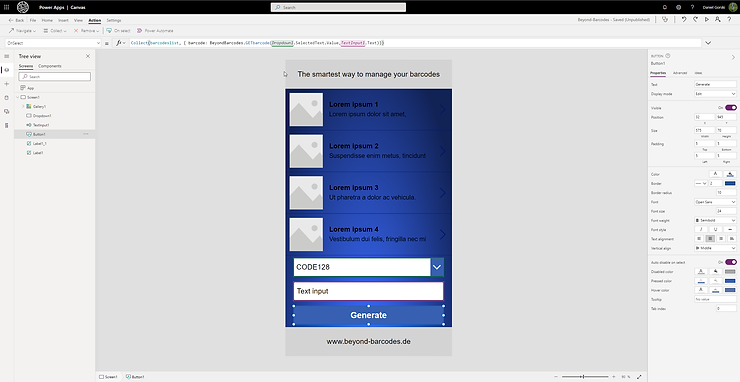
Jump back into your app and add now your custom connector into data source
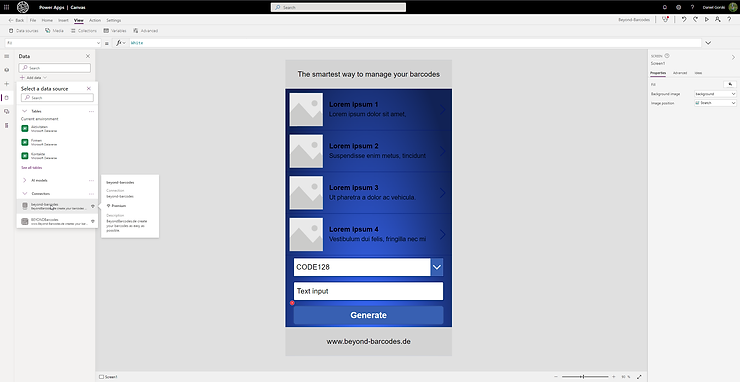
Select it (left hand)
Select your previously created button

and add this for "OnSelect" to insert your barcode into your collection.
Collect(barcodeslist, {
    barcode: BeyondBarcodes.GETbarcode(Dropdown1.SelectedText.Value, TextInput1.Text)
})
or test it with this:

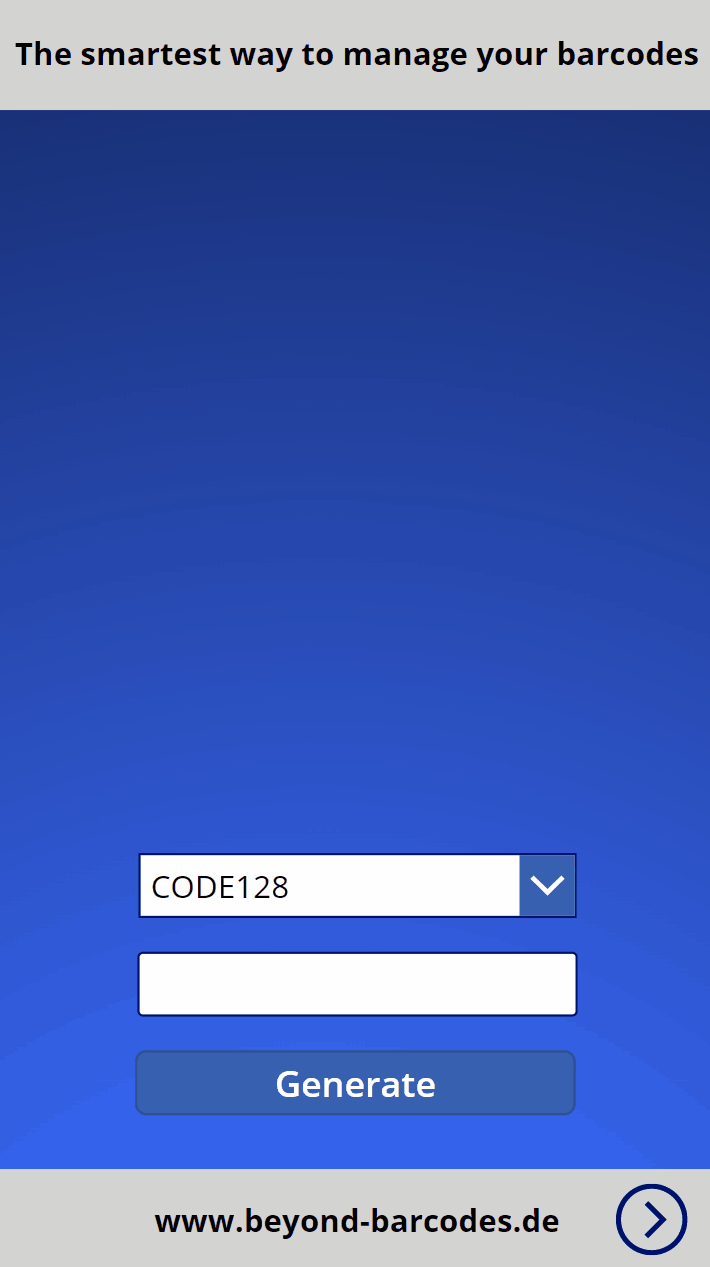
this is how it should look like by selecting the "generate" button
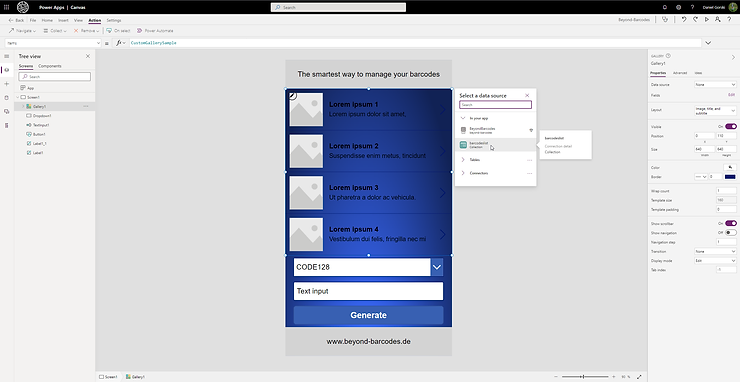
Select the gallery and a pop up appears to select the data source. You should choose the new collection.
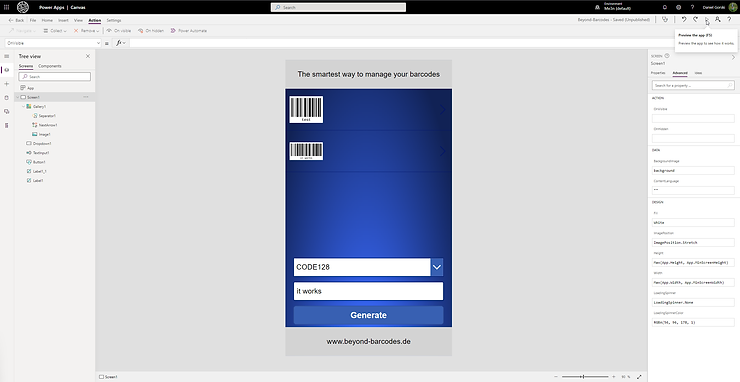
Preview the app by hitting F5 or use the button at the upper right corner
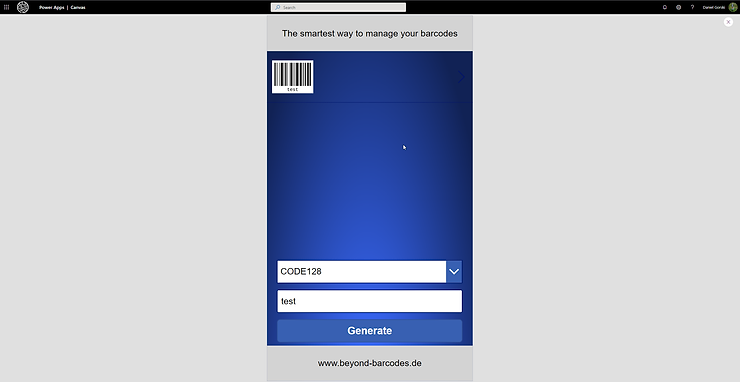
Generate your barcodes!